

by Frances Proctor
Hi Everyone! While searching the internet for ideas for some Christmas graphics I came upon an Illustrator
tutorial for creating a cute little snowman. The image caught my imagination and I just had to try recreating it
in Designer Pro.
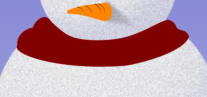
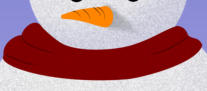
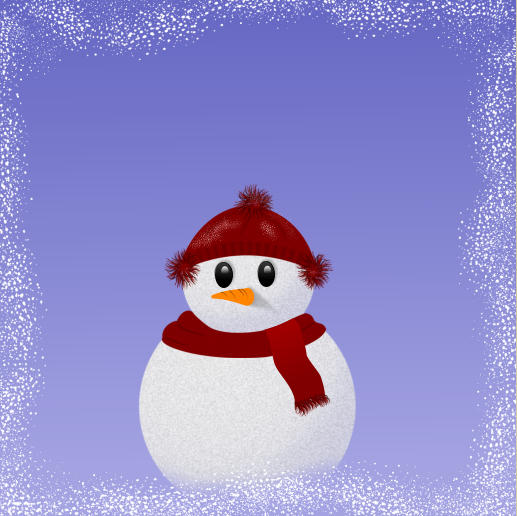
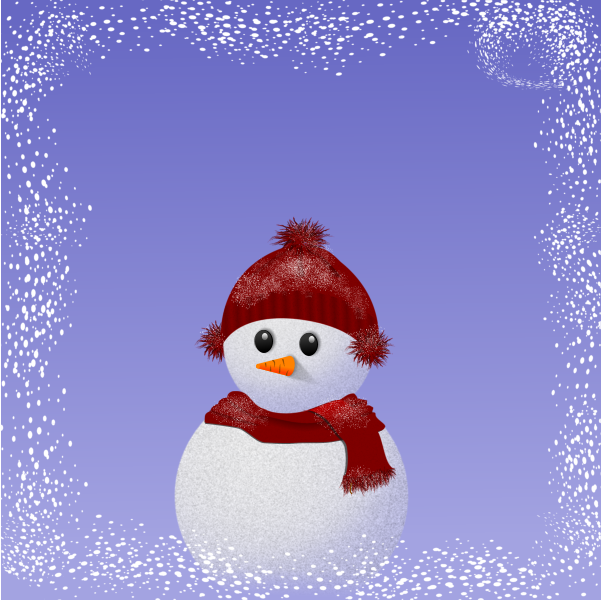
I experimented and came up with a method of recreating the image in Xara software, complete with his scarf
and tuque This little snowman will be all ready for a cold Canadian Winter!
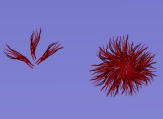
I’ve created a set of brushes for you to use for doing this tutorial. Just click the note pinned to the left to
download them. Open the snowman brushes .xar file to load the brushes, and open a new document.
So… Are you ready?
A Tutorial For Designer Pro
and Photo and graphics designer 11


Preparations
Every snowman starts with snowballs and I’m going to show you how to create a perfect snow ball complete
with an icy texture. But first you need to do some preparations. You’ll need a coloured background so you
can see what you are doing. Create a rectangle big enough to fit the entire snowman I made mine 600 px
by 600px.


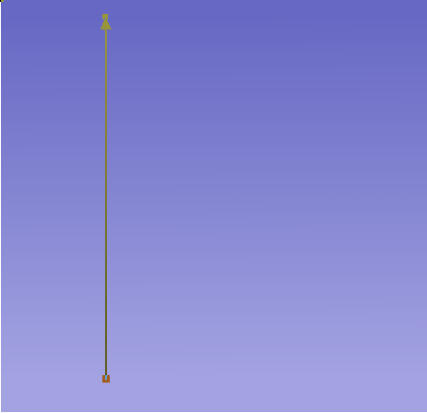


start

Give the rectangle a linear fill using the start and
end colours indicated.
you can use the eyedropper tool to
sample the colours from the swatches
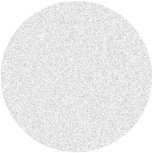
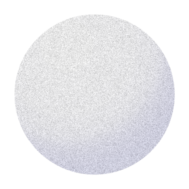
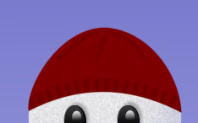
Once you have your background ready select
the ellipse tool then hold down the ctrl key to
Make a circle. Make your circle white.
Now you are going to layer some live effects to
create the snow texture. The live effects you will
using come with Xara software and while they
can be quite useful they do sometimes take a
few seconds to generate, so you’ll need to do
some further prep work here. At the default
setting the program will regenerate the effects
each time you do something to the object to
which they are applied. When you have a stack
of effects as you are going to do in this tutorial
the seconds add up and perhaps you don’t want
to wait. This is where locking the effects comes
in handy, but this also makes the effects no
longer live and thus resolution becomes
important. Thankfully Xara have given the
software a way to set the default resolution of
the effects so you won’t have to set it each time.
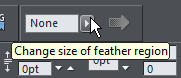
With the circle selected choose the live effects
tool from the photo flyout and from the FX
settings that now show on the info bar click the
setup button. This will bring up the Effects and
Plugins tab of the options panel. Under effects
you will have two drop down lists for default live
effect and locked live effect resolution you can
select from the list or type in the value that you
want. I have mine set at 300 dpi for print, and
this is what I recommend for best results.
Once you have set both defaults click OK to set
your options and dismiss the box. Keep the
circle selected and the live effect tool active. On
the next page you will turn the plain white circle
into icy snow!


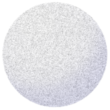
Making Snowballs
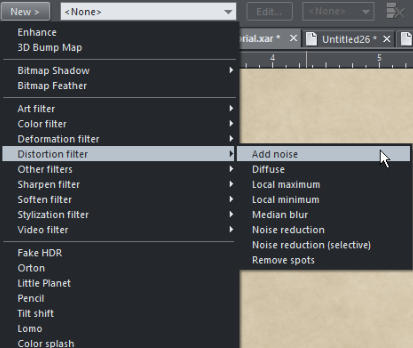
With the Circle still selected and the Live effects tool
still active click New and then choose distortion > add
noise.
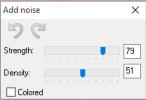
The add noise settings will appear, set the strength to
79 and the density to 51. Make sure coloured is not
selected.
Your settings will be automatically updated so just click
the X in the corner to dismiss the box once you are
finished.
The auto updating of the built in effects is the reason
that I’m suggesting that you lock the effects. But first
you are going to create another layer.
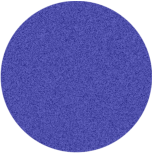
Clone the circle (ctrl+K on your keyboard) with the
cloned circle still selected give it the same blue colour
you used as the end colour (the darker one) in the
linear gradient fill you gave the background rectangle.
Your circle should now be blue and should still have the
noise effect. Keep the blue circle selected and click
the wine glass on the tool bar to activate the
transparency tool. You want to create subtle shading
to give the snowball a spherical look. Select circular
from the transparency list.
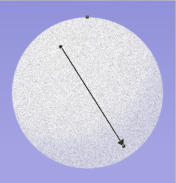
The default setting on the transparency gives you a
completely opaque center and transparent edges. This
is not what you want, you will need to change the
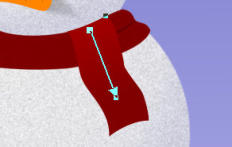
values for each end of the handle. Click on the node
at the center end of the handle to select it and drag the
transparency slider on the toolbar all the way to the
right to give it 100% transparency. Yes your circle has
disappeared but dont panic just select the node on the
outer end of the handle and set it at around 83% Pull
the outer handle down and to the right and pull the
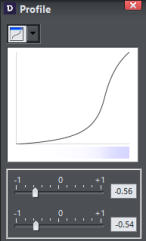
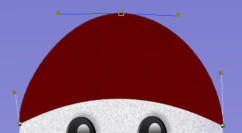
center handle up and to the left. with the transparency
tool still selected click the arrow on the info bar to open
the profile sliders. Set the sliders over to the left as
shown. I used -0.56 and-0.54
Now you should have a subtly shaded snowball but the
noise is a little harsh. Select both layers of the
snowball and at this point if you wish you can go into
the Live effects and lock the add noise effects by
clicking the little lock icon on the info bar. While both
layers of the snowball are still selected group
them(Ctrl+G) and go on to the next page to continue.